 How-to
How to Prepare Print Ready Files for Professional Printing
Last Updated: November 7, 2026
Quick Summary
To prepare print ready files, set your document to the exact finished trim size, add 3 mm bleed on every edge, and keep text and logos about 3 mm inside the trim line. Use 300 DPI images in CMYK colour mode, then export a print-quality PDF with fonts embedded.
- Set the document to the exact finished trim size listed on your printer's spec sheet.
- Extend backgrounds and images 3 mm past the trim line on every edge.
- Keep text and logos at least 3 mm inside the trim line.
- Use images at 300 DPI at printed size, not screen resolution.
- Set colour mode to CMYK and embed or outline all fonts before exporting.
Table of Contents
- Setting Up Your Document: Size, Bleed and Crop Marks
- Checking Image Resolution and Colour Mode
- Exporting Your Print-Ready PDF from Canva or Design Software
- Frequently Asked Questions
Files that look perfect on screen can still print badly. Good print ready files are ones a printer can run without guessing, and getting them right is simpler than most people expect. Here is how to set up your document, check your images and export a PDF that goes straight to press.
Setting Up Your Document: Size, Bleed and Crop Marks
Set your document to the exact finished size before you add anything. Your printer's specification sheet lists the trim size for each product.
Next, add bleed. Extend any background colour or image past the trim line, usually by 3 mm on each edge. Then keep text and logos inside the safe area, roughly 3 mm in from the trim line.
Crop marks show where the sheet gets cut. Most printers add these themselves, so only include them if your printer asks.
- Set the document to the finished trim size
- Add 3 mm bleed on every edge
- Keep important content at least 3 mm inside the trim line
The table below summarises the key print specifications covered in this section so you can check your file quickly.
| Item | Value | Note |
|---|---|---|
| Document size | Exact finished trim size | Listed on your printer's spec sheet |
| Bleed | 3 mm on each edge | Extend background colour or images past the trim line |
| Safe area | About 3 mm inside trim line | Keep text and logos inside this margin |
| Crop marks | Only if printer asks | Most printers add them automatically |
Checking Image Resolution and Colour Mode
Images need to be high resolution, usually 300 DPI at the printed size. Low-resolution images look soft or pixelated on paper, even when they look fine on screen.
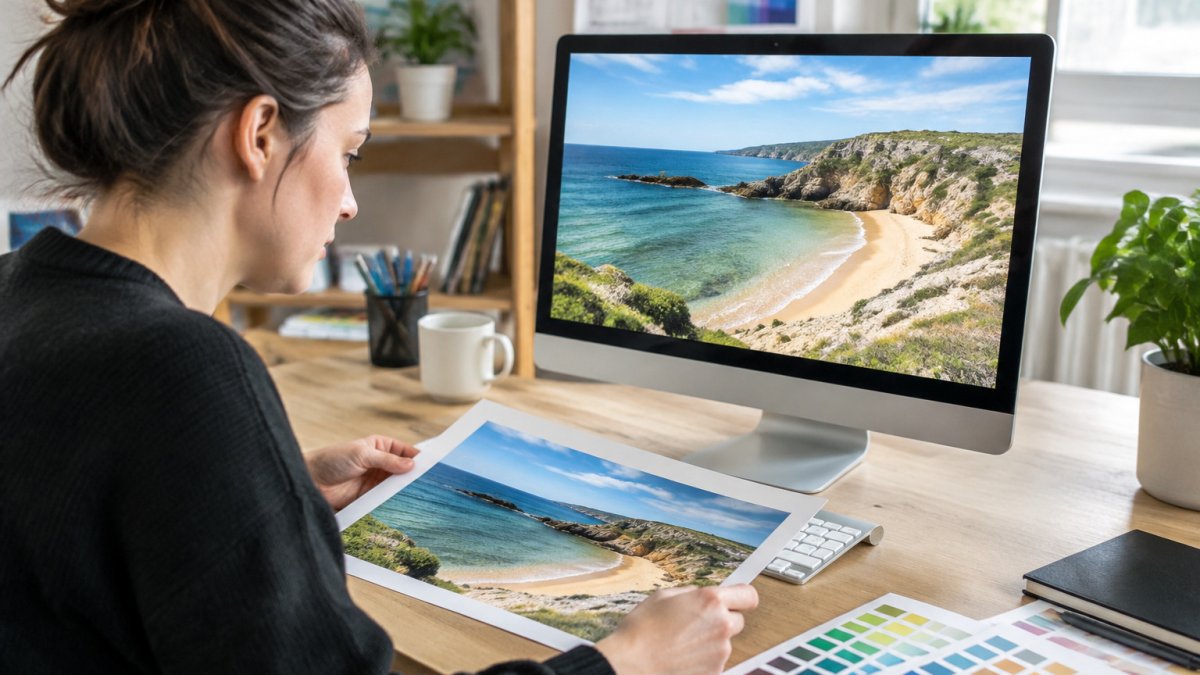
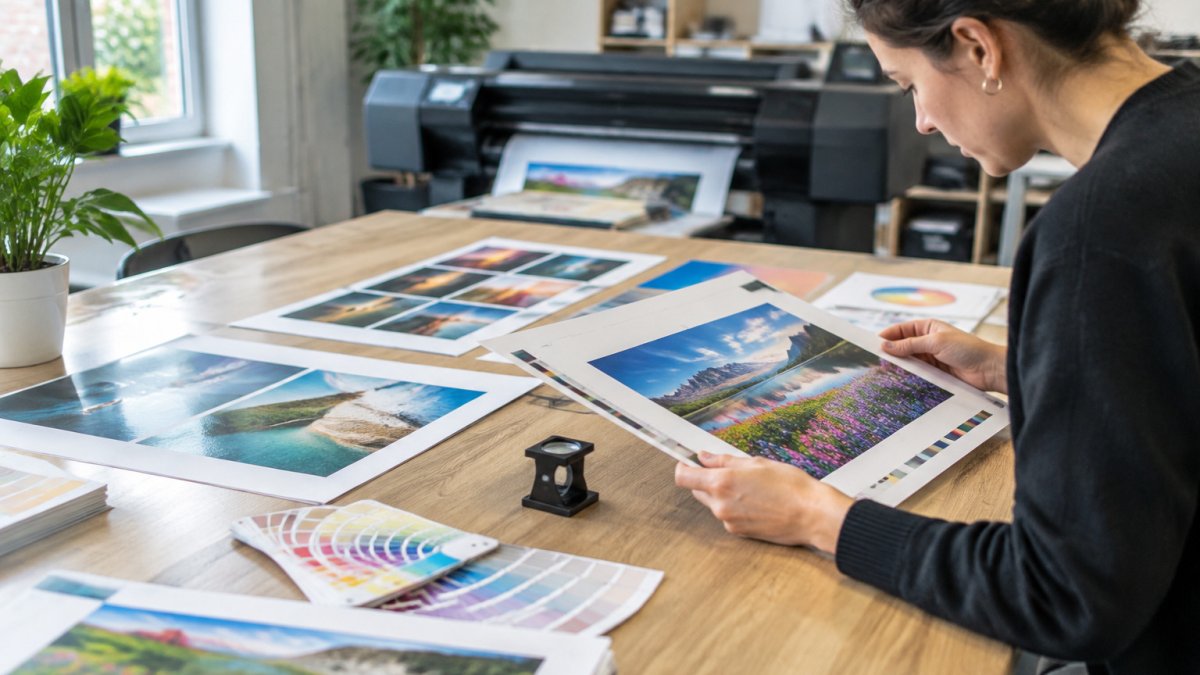
Set the colour mode to CMYK, not RGB. Screens use RGB, so bright colours can shift when printed. Check your brand colours against a printed proof where you can.
Exporting Your Print-Ready PDF from Canva or Design Software
Export as a PDF designed for print, not a standard screen PDF. In Canva, choose the print PDF option and tick the bleed and crop mark settings your printer asks for. In Photoshop or Illustrator, use a press-quality preset.
Before you send the file, check that fonts are embedded or outlined, and that no unused layers or hidden elements remain in the document.
Print Brain offers free artwork checks, so you can send your file before final production and catch problems early. Once your PDF is ready, you can order flyers and leaflets printed straight from the same files.
Frequently Asked Questions
What does print-ready mean?
A print-ready file is one that a printer can output without changes. It is a PDF with the correct finished size, bleed where needed, images at a sufficient resolution, colours set to CMYK and all fonts embedded or outlined. Print Brain offers free artwork checks, so you can find out early whether anything needs adjusting.
What resolution should images be for print?
For most print jobs, images should be at 300 DPI at the final printed size. A photo that looks sharp on screen can still print blurred if it is stretched beyond its original resolution. Check each image at 100 per cent zoom in your design software before exporting, and replace any that look soft or pixelated.
How much bleed should I add to a print file?
A bleed of 3 mm on every edge is the standard for most UK print jobs, and it allows for small trimming variations on the finished product. Any background colour or image that touches the edge of the page should extend into the bleed area.